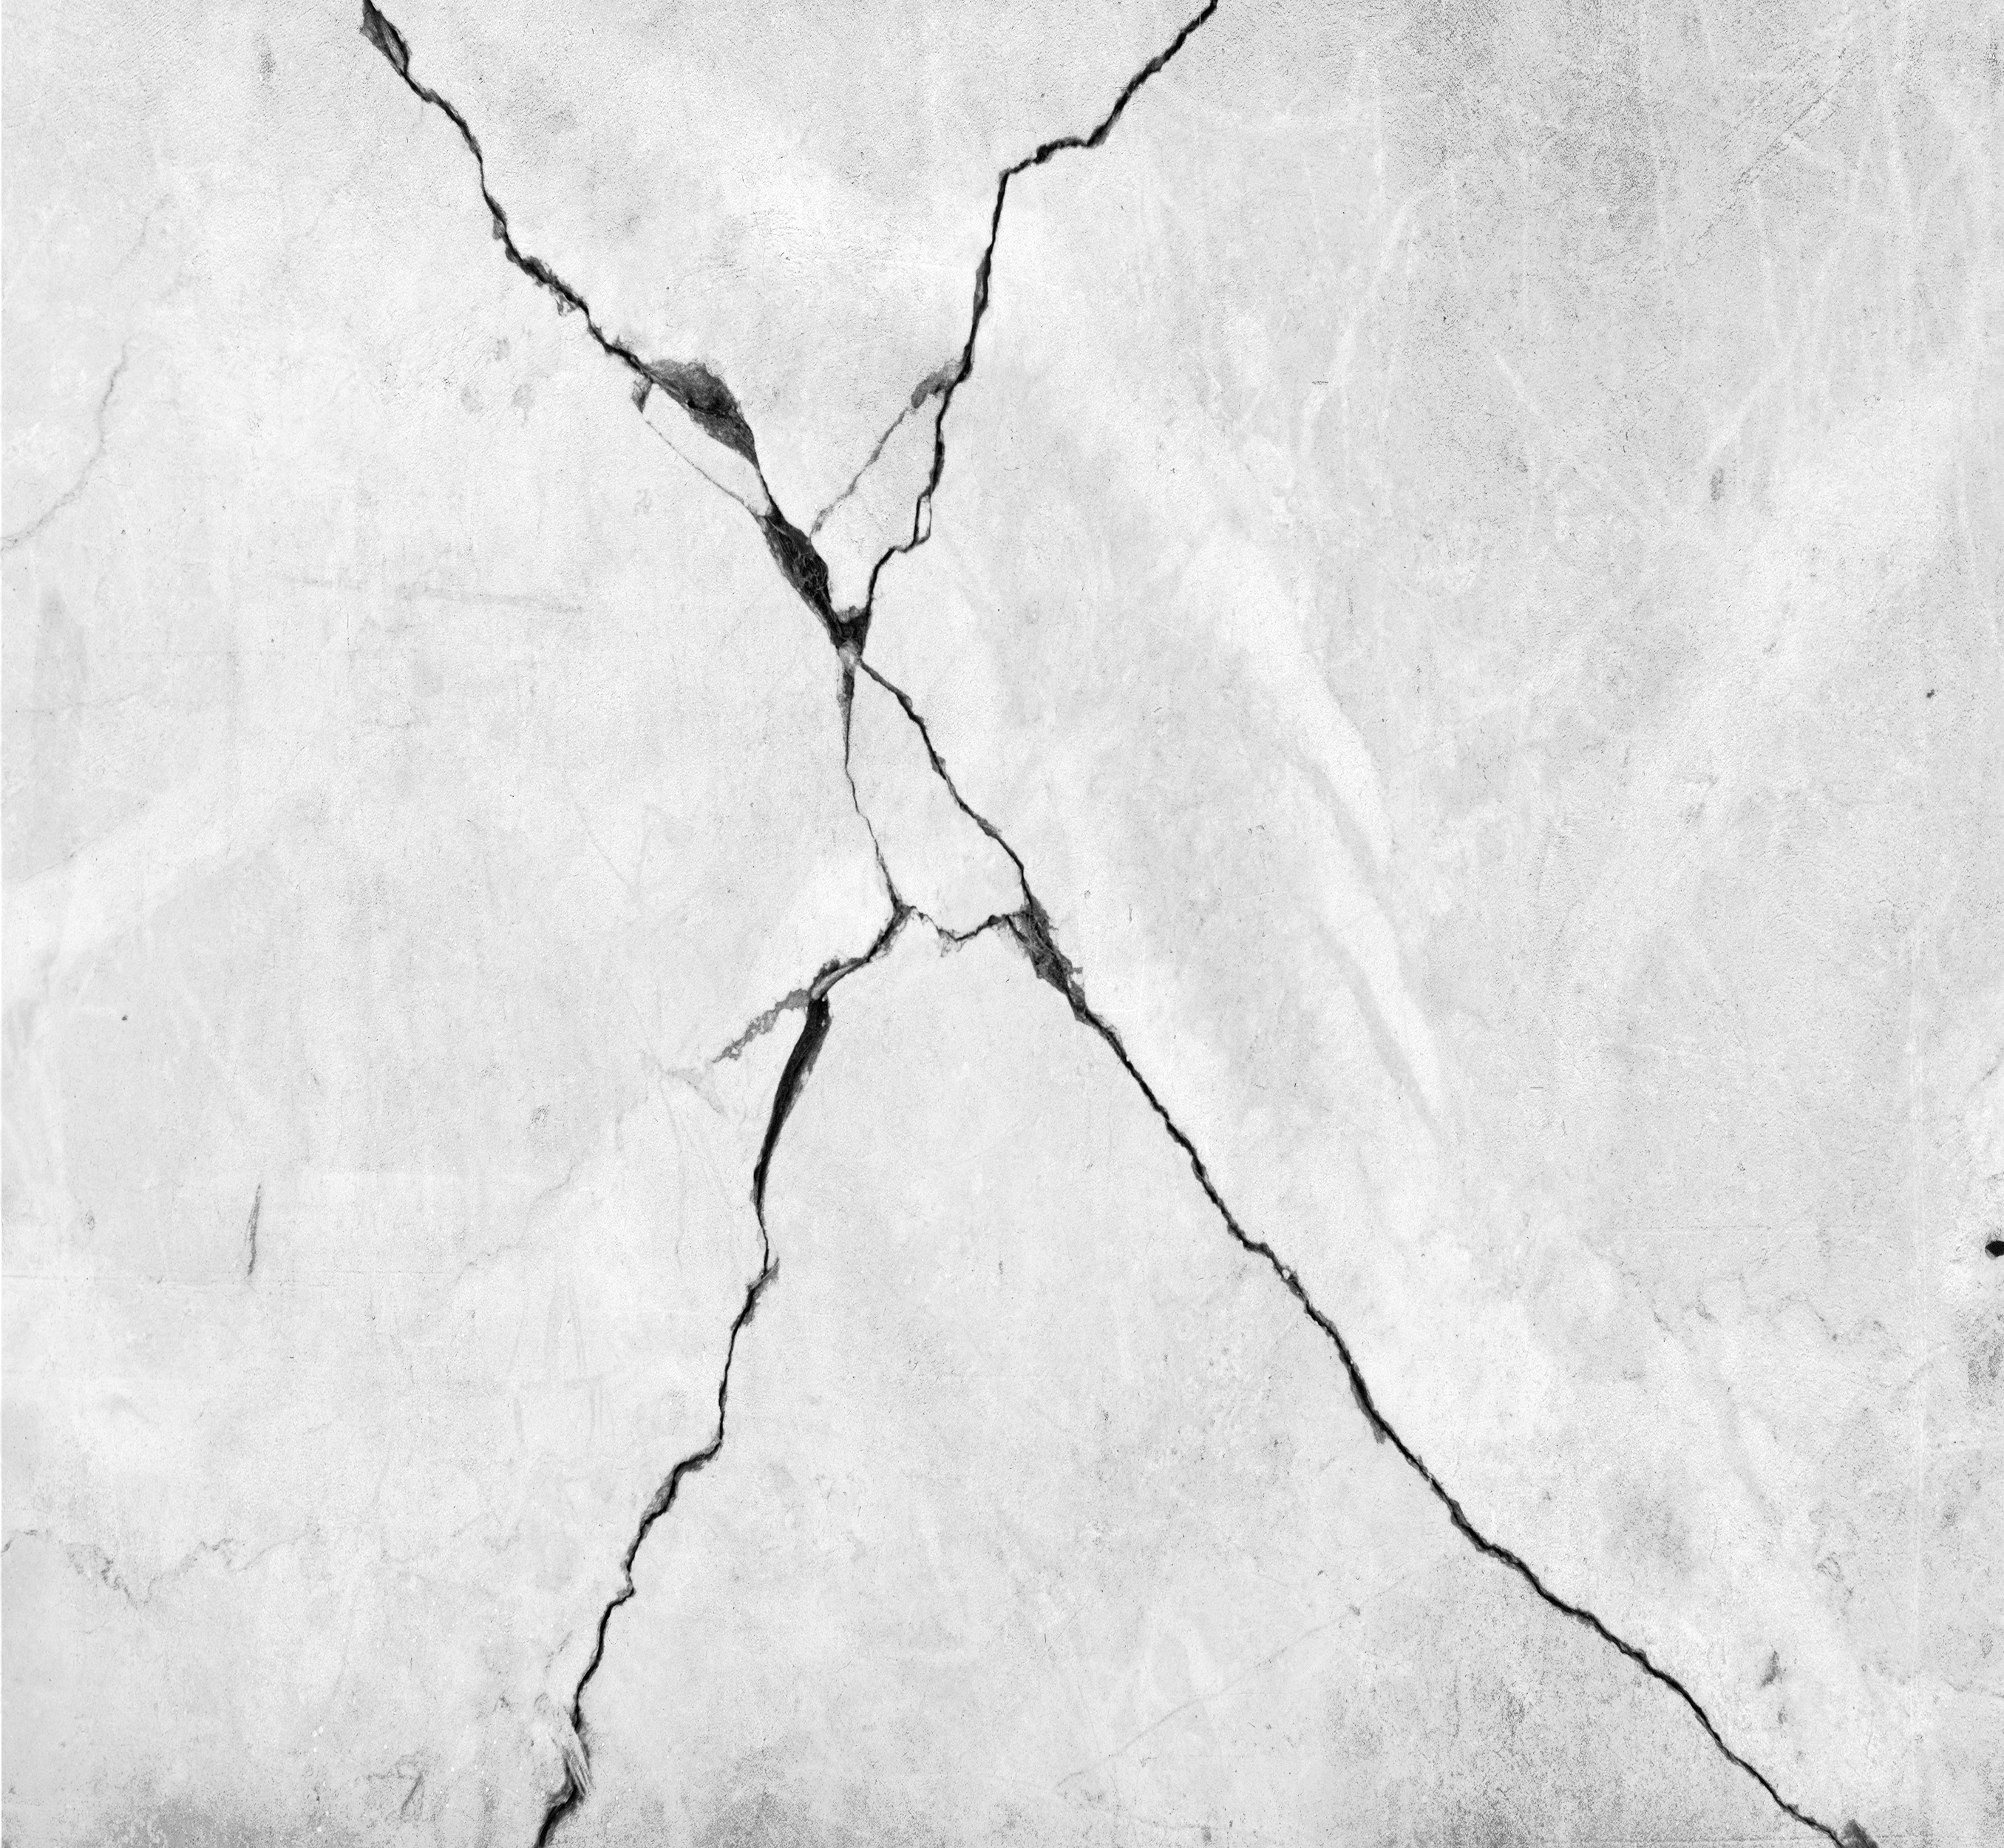
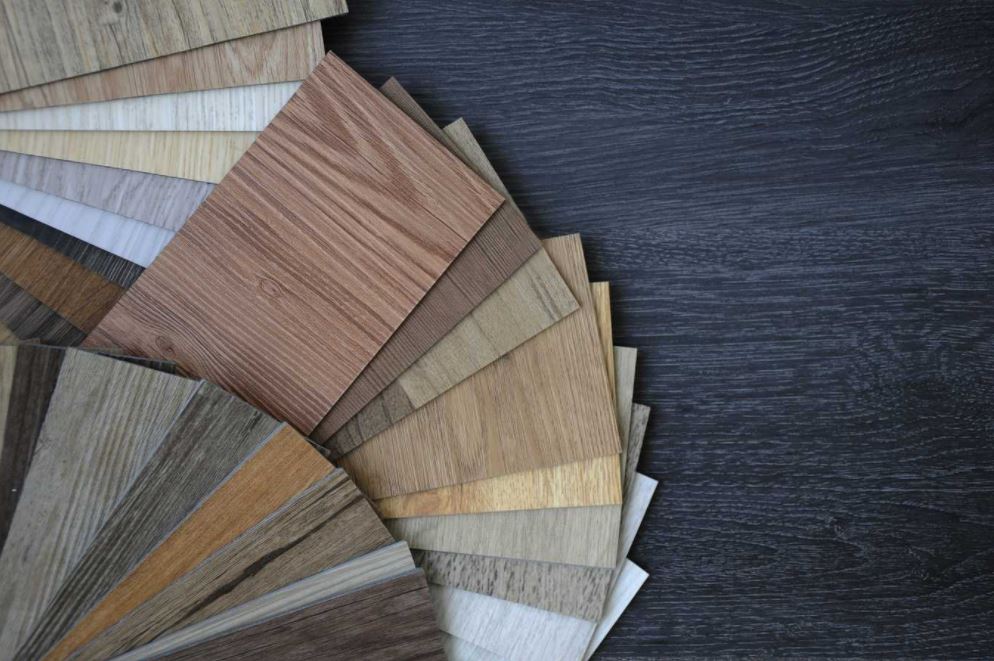
Bathrooms and kitchens can be some of the most spectacular parts of a home, with both simple tiling and complex mosaics giving your space a unique look. However, once your tiles have been on the wrong end of some damage, you might not know how to get your flooring back to its best. Learn more about whether or not you can replace your cracked tiles, exactly how you can do so, and some of the main causes of damaged tiles.
You can! Although, for the most part, it depends on the amount of damage that’s been done to the tiles, you can repair the majority of tile cracks. For smaller issues, you can fix the tile itself, but for larger tile cracks, you might be required to remove the tile and replace it with a fresh one. In the most severe cases, it could be better to opt for a complete re-tiling of the affected area.
Repairing small cracks
Minor cracks may not be noticeable for a lot of people, but resolving them before they become an issue is a must to prevent more serious damage in the long run. The steps towards repairing small cracks in your tiling include the following:
1. Wash the tile
The last thing you want is dirt and any other contaminants in your tile after completing the fix. Start the process by cleaning the tile thoroughly with either tile cleaner or detergent. After cleaning, let the tile naturally dry, with a bone-dry tile being much better for the epoxy resin you’re using to fix the issue.
2. Apply epoxy
Apply epoxy glue along the crack. Ideally, you’ll allow the epoxy to seep into the crack and naturally run down the gap, but the thickness of some hairline fractures can cause some surface tension issues. The glue that you’re using sets fairly quickly, so it works quickly in your application whilst avoiding any undamaged tiles.
3. Carefully clear the excess
Use a Stanley knife or other similar precise blade to remove any of the excess epoxy from the area. You’re inevitably going to have some level of overflow when repairing your tiles and getting rid of any excess makes your solution look as clean and tidy as it can be. Be very careful, or you might accidentally scratch and cut the finish of the tiles around the one that you’re fixing, causing you more issues.
4. Paint the epoxy
Finally, paint the epoxy on the tile the right shade to match the tiles around it. Take care with your choice of paint, especially if the tiles are a natural colour without being painted. Choosing the wrong shade or applying the paint poorly can bring its own issues and draw more attention to the crack and its surrounding area, which is the opposite of what your initial goals were.
Repairing large tile cracks
The process is somewhat different if you’re looking to replace large tile cracks. Some of the main steps in the process of repairing larger tile cracks in your kitchen or bathroom include the following:
1. De-grout the tile
Start the process by removing all of the grout from around the tile edges. This involves a specialised grout scraper, and you need to make sure that all of the grout is cleared from the edges. By doing so, you make sure that the process doesn’t affect any of the tiles around the damaged one.
2. Smash the tile
This might sound counterproductive, but smashing the tile is the next step in getting your tiling looking good again. Place a towel over the tile and smash it right in the centre of the tile, with targeted smashing preventing damage to other surrounding tiles. Once the smashing is complete, proceed to remove any remaining pieces by using a hammer and chisel to clear the area out completely.
3. Place a new tile
Start to prepare a new tile to go into the space by mixing up some tile adhesive and applying it to the underside of the tile with a notched trowel. Carefully press the tile into the space to make sure that it has properly adhered to the space before leaving the adhesive to dry completely. Patience is key, or you risk the tile coming loose later.
4. Re-grout the tile
Apply grout between the new tile and the old tiles with a grout float. Once applied, wipe away any of the excess grout and let it set overnight without any interference. Do another wipe-down once you’ve re-grouted to clear the area properly, and then you’re all done!
What can cause tile cracks?
The best way to deal with tile cracks is to stop them from happening in the first place. The causes of tile cracks that you need to keep an eye out for include:
– Sudden impacts: A hard and sudden impact can cause big damage to a tile. Do what you can to avoid dropping heavy objects on tiles. After all, there’s a reason that gym floors have plenty of padding.
– Temperature changes: As with any building materials, tiles can grow and shrink when exposed to extreme hot and cold conditions. These stresses can lead to the structure failing, with hairline cracks emerging as the pressure starts to affect the tiles.
– Tile quality: If you’ve gotten tiling services from an organisation that doesn’t focus on quality, you could find yourself with tiles that break for no apparent reason due to their attempts to cut down on costs. Look for a good PEI rating to be sure.
– Incorrect installation: Installing a tile wrong can lead to it completely failing. For example, using adhesive unevenly leaves gaps behind the tiles, with these vacuums impacting the integrity of the tile and eventually leading to cracks in your tiling.
Try Cooper & Williams
If you’re looking for reliable tile repair or retiling services across Shrewsbury, the rest of Shropshire, and Mid-Wales, get in touch with the Cooper & Williams team today. With decades of experience, we provide tiling and repair services that you can rely on with a smile.